 Bellingham Exterior
 New-Construction Windows Are a Different Job Than Replacement
"New-construction window" is a specific term in our trade, and it matters more than most homeowners realize. These are windows with a nailing fin around the perimeter of the frame, designed to be installed before the exterior wall covering goes on — during a new build, a room addition, a garage conversion, or a full tear-out remodel where the wall is opened down to the studs and building wrap. That's different from an insert or "pocket" replacement window, which slides into an existing frame with the old frame left in place.
The distinction isn't just paperwork. A new-construction window integrates directly with the wall's water-resistive barrier (WRB), flashing tape, and sheathing. Done right, it becomes part of a continuous drainage plane that sheds water down and out, away from the framing. Done wrong — or installed as if it were a pocket window — it can trap moisture behind the siding where nobody sees it until there's a problem.
When South Hill Homeowners Ask for This
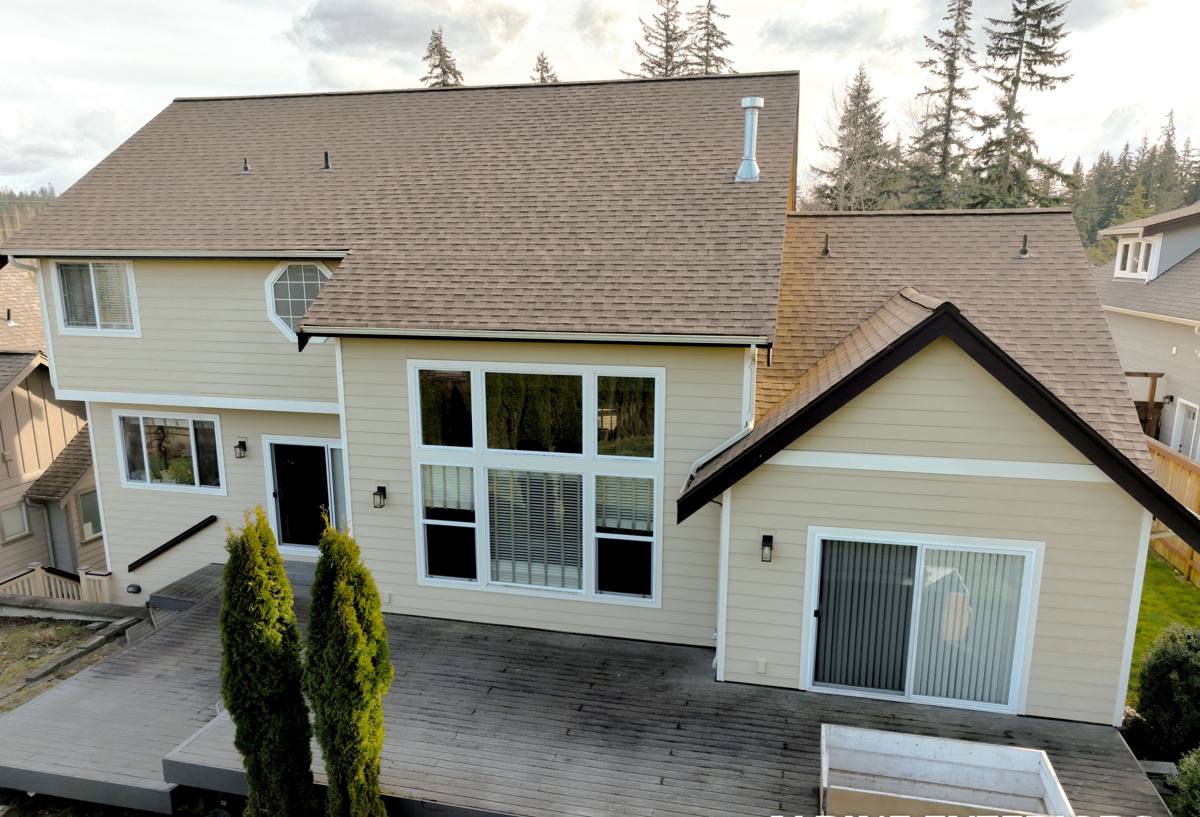
Around South Hill we most often install new-construction windows for additions and bump-outs, second-story additions, garage-to-living-space conversions, and full-gut remodels where the exterior wall is opened up anyway. If your project involves framing new rough openings or you're already down to the studs, new-construction windows — installed with proper flange, flashing, and sill pan detailing — are the correct product for the job, not a retrofit shortcut.
What Bellingham's Climate Asks of a Window Installation
Whatcom County sits right on Bellingham Bay, and that proximity shapes every exterior decision we make, windows included. Salt-laden air off the water accelerates corrosion on fasteners, hinges, and cheap cladding over time, which is one reason we pay attention to hardware and flashing metal specs rather than treating them as an afterthought.
Driving rain is the bigger day-to-day concern. Storms here regularly come in sideways off the Sound, and wind-driven rain will find any gap in flashing, any short-cut sealant bead, or any sill pan that wasn't sloped correctly. A window that's watertight in a light, straight-down rain can still leak in a Bellingham windstorm if the drainage details behind the trim weren't done properly.
Then there's moss season — the long stretch of cool, damp months when anything shaded and slow-drying grows moss, algae, and mildew. On a house with a mature tree canopy, north-facing walls and window sills can stay damp for days after a storm. Frame material, sill design, and how well the assembly sheds water all affect how much maintenance you're signing up for years down the road.
South Hill's Building Conditions
South Hill is one of Bellingham's older, established neighborhoods, built on sloped terrain with a lot of mature tree cover and a mix of home ages — which shows up in the work in a few practical ways:
- Hillside exposure: Homes higher on the slope catch more direct wind off the bay, which raises the standard for flashing and fastening at exposed elevations.
- Tree canopy: Shaded lots stay damp longer after rain, so drainage details and frame material choice matter more for long-term moss and mildew resistance.
- Older framing meeting new additions: When we tie a new rough opening into an existing wall system, matching the WRB and flashing sequencing correctly at that transition is where a lot of installers get sloppy.
- Mixed lot access: Narrower lots and established landscaping mean staging and material handling need planning before crews show up, not figured out on-site.
What a Correct New-Construction Window Installation Involves
The Sill Pan Comes First
Before a window ever goes into the opening, the rough sill needs a sloped, sealed pan — either a flexible flashing membrane or a rigid pan product — that directs any water that gets past the window back outside the wall, not down into the framing. This is the single most-skipped step on rushed jobs, and it's the one most likely to cause a hidden problem years later.
Flashing Sequence and the Drainage Plane
Water management around a window follows a shingle-lap logic: sill pan first, then the window's nailing fin, then jamb flashing, then head flashing last, each layer overlapping the one below it so water is always directed outward and down. The window's flashing also has to tie into the wall's building wrap correctly — lapped, not just taped flat — so the whole assembly acts as one continuous barrier rather than a patchwork of separate pieces.
Fastening and Sealing
Nailing fins get fastened per the manufacturer's schedule, not "close enough." Sealant goes where it's specified — often at the head and jambs but intentionally left open at the sill so water that does get behind the cladding has somewhere to drain out, rather than being sealed into a pocket where it can't escape.
Interior Air Sealing
On the inside, the gap between the window frame and the rough opening gets air-sealed with low-expansion foam or backer rod and sealant — this affects both energy performance and condensation control, which matters through Bellingham's damp winters.
Choosing Frame Material and Glass for This Climate
There's no single "best" window brand, and we're not going to pretend otherwise. What matters is matching frame material and glass package to how exposed the opening is and how the homeowner wants to maintain it long-term.
| Frame Material | Strengths in This Climate | Trade-Offs to Know |
|---|---|---|
| Vinyl | Won't rot, low maintenance, budget-friendly, good moisture resistance | Limited color/finish options; frame can expand/contract with temperature swings |
| Fiberglass | Very stable dimensionally, strong moisture and corrosion resistance, holds paint well | Higher upfront cost than vinyl |
| Wood-clad | Traditional interior look, good insulating properties | Cladding seams need attention; exterior wood behind cladding demands correct detailing to avoid moisture issues over time |
| Aluminum | Strong, slim sightlines, good for larger openings | Poor thermal performance unless thermally broken; more prone to condensation in cold, damp months |
For glass, we generally recommend double-pane, low-E glazing with an argon fill as the baseline for this region — it balances energy performance against cost well for our winters. Homes on more wind- or noise-exposed parts of the hill sometimes benefit from a heavier glass package, which we'll walk through based on the specific opening.
Our Process From Estimate to Final Inspection
- On-site walkthrough: We look at the rough openings (or planned openings), wall assembly, exposure, and existing WRB before recommending a product or approach.
- Written estimate: Scope, materials, and pricing spelled out — no surprise add-ons once framing is opened up.
- Permit coordination: New-construction window work tied to an addition or remodel typically requires a Whatcom County or City of Bellingham building permit; we handle that paperwork as part of the job.
- Sill pan and flashing installation: Done in the correct sequence, checked before the window ever goes in.
- Window set and fastening: Level, plumb, square, and fastened to manufacturer spec.
- Head flashing and WRB integration: Tied into the existing wall wrap so the whole wall drains as one system.
- Interior air sealing and trim-out: Foam or backer rod sealing, then interior finish work.
- Final walkthrough: We check operation, sealing, and finish with you before calling the job done.
Meeting Code Requirements Correctly
New-construction window work is code work, not just carpentry. Bedroom additions and conversions in Whatcom County need windows sized and positioned to meet egress requirements for emergency exit. Washington's state energy code sets minimum U-factor performance standards for window assemblies, which affects which products we can spec on a given job. And permitted work gets inspected — which is exactly why sill pans, flashing sequence, and fastening schedules need to be right the first time, not covered up and hoped for.
What to Ask Before Hiring a Window Crew for New Construction
- Do they install a sloped, sealed sill pan on every opening, or just set the window in bare framing?
- Can they explain their flashing sequence in plain language — sill, fin, jamb, head, in that order?
- Do they pull the required permit, or expect you to?
- Will they tie new flashing into your existing building wrap, not just tape over the seam?
- Do they have experience with hillside or exposed sites, where wind-driven rain is more of a factor?
- What's their warranty on labor, separate from the manufacturer's product warranty?
Why Local Experience on South Hill Matters
A window installed correctly on a sheltered lot in a mild climate can get away with shortcuts that won't hold up on an exposed South Hill slope taking direct wind-driven rain off the bay, or on a shaded, tree-covered lot where moss and moisture have months to work on a bad detail. Crews who work this neighborhood regularly know which elevations need extra flashing attention, which lots need drying time built into the schedule, and how to sequence work around Bellingham's wet months rather than fighting them. That local pattern-recognition is hard to fake, and it's the difference between a window that performs for decades and one that becomes a hidden problem behind the siding.
If you're planning an addition, conversion, or remodel on South Hill and need new-construction windows done right — from sill pan to final trim — we're happy to walk the site with you and put together a free, no-pressure estimate. Just fill out the form below and we'll get in touch.