 Bellingham Exterior
 Building New in Birchwood Means Building for This Climate
Birchwood sits close enough to the water and to Bellingham's marine weather patterns that new construction here has to account for more than code minimums. Salt-laden air, sideways rain off the Sound, and a long stretch of the year where moss and moisture sit on every north-facing surface all put pressure on a building envelope before it's even finished being framed. Windows are one of the largest penetrations in that envelope, and how they're selected and installed during new construction sets the tone for the next 20-plus years of performance.
When we install new-construction windows in Birchwood, we're not just setting units into rough openings. We're thinking about how driving rain behaves against this specific exposure, how the framing crew's timeline affects when weatherproofing has to happen, and how the finished assembly will hold up through repeated wet-dry cycles every winter. A window that's correctly rated on paper but poorly integrated into the wall assembly will leak in this climate — it's just a matter of which winter.
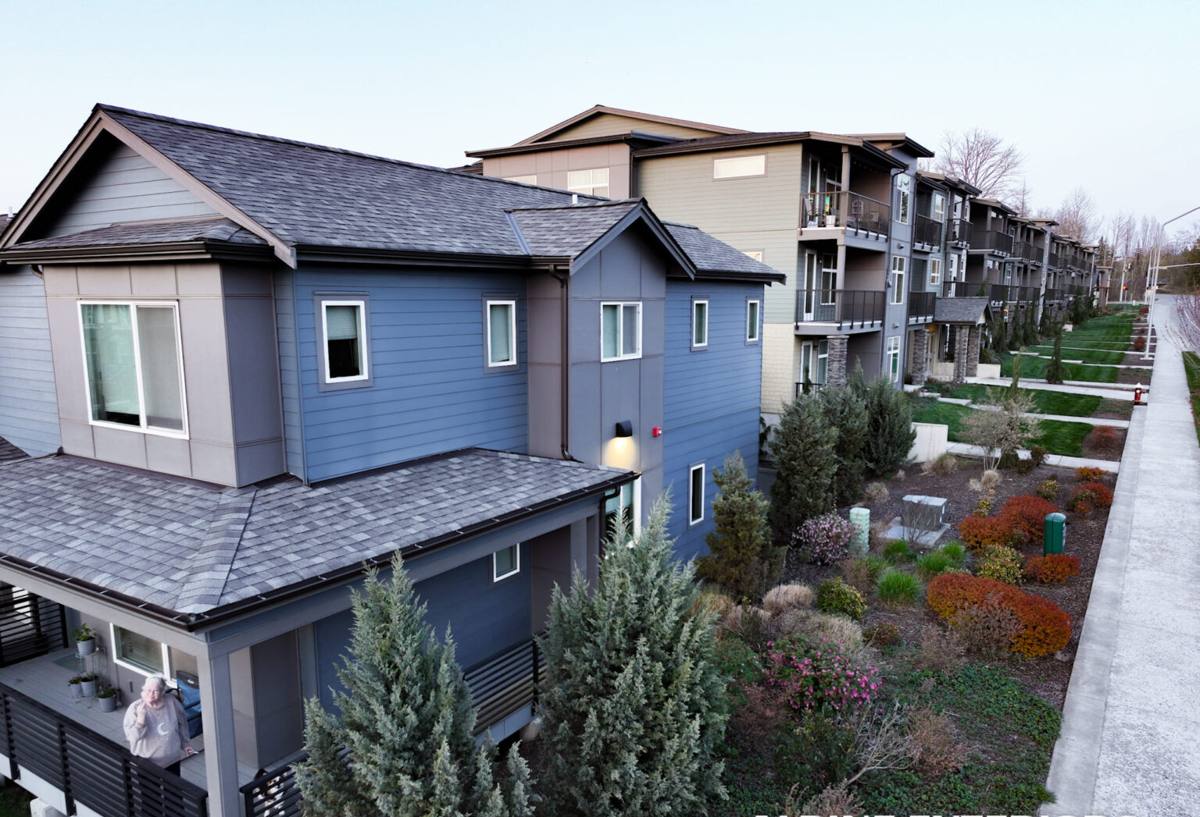
What "New-Construction" Windows Actually Involves
New-construction windows are different from replacement windows in a way that matters a lot for how the job gets done. Replacement windows get set into an existing opening, often using the old frame or a pocket install, because the siding and trim around them are already finished. New-construction windows have a nailing fin (or, on some product lines, a block frame designed for masonry or specific siding details) that gets integrated directly into the wall assembly — the weather-resistive barrier (WRB), the flashing, and the siding all get built around the window as part of one continuous water-management system.
This matters because it means the window installation isn't really a standalone task. It's one step in a sequence that includes the WRB installation, sill pan flashing, jamb and head flashing, and the siding or trim that laps over all of it. Get the sequence wrong — even if the window itself is a good product — and the wall will take on water somewhere the homeowner won't see until there's a stain on drywall or rot in a sill years later.
Why This Matters More in Whatcom County
In a drier climate, a shortcut in flashing sequence might go unnoticed for a decade. In Bellingham and the surrounding county, with rain that comes in sideways off exposure to the water and a long wet season, water-management mistakes at window openings tend to show up faster and cause more damage. That's the honest reason we treat window installation sequencing as non-negotiable, not a sales point.
Choosing the Right Window for a Birchwood Build
There's no single "best" window for every new build — the right choice depends on the home's exposure, the siding material, the budget, and the owner's maintenance tolerance. What we can say honestly is that in a salt-air, high-rain environment, some material and hardware choices age noticeably better than others.
| Frame Material | Performance in Salt Air & Driving Rain | Maintenance Over Time |
|---|---|---|
| Vinyl | Good moisture resistance; won't corrode from salt exposure | Low — occasional cleaning, no painting or sealing needed |
| Fiberglass | Very stable in wet, temperature-swinging conditions; strong seal retention | Low — holds paint well if a custom color is wanted |
| Wood (clad exterior) | Good if the exterior cladding is intact; bare wood exposure is a liability near salt air | Higher — exterior cladding and sealant joints need periodic inspection |
| Aluminum | Prone to corrosion and condensation issues in this climate unless thermally broken | Moderate to high — hardware and finish need monitoring |
Hardware finish matters too. Standard hinges, cranks, and locks on lower-tier windows can corrode faster this close to salt air. We steer builds toward hardware and cladding finishes rated for coastal or marine exposure whenever the budget allows, because replacing corroded hardware on a new-construction window five years in is a frustrating, avoidable cost.
The Installation Process That Actually Keeps Water Out
A correct new-construction window install in this climate follows a specific order, and skipping steps — even ones that seem redundant — is where most future leaks start.
- Rough opening is checked for square, level, and correct dimensions before the window arrives on site.
- A sill pan flashing is installed at the base of the opening, sloped to drain any water that gets past the window back out to the exterior — not into the wall cavity.
- The WRB is integrated with the flashing in the correct shingle-lap order so water is always directed outward and downward, never trapped.
- The window is set, shimmed for square and plumb, and fastened per the manufacturer's schedule — not just "enough" fasteners, but the specified pattern and spacing.
- Jamb and head flashing tape over the nailing fin, integrated with the WRB above and beside the window.
- Backer rod and exterior sealant at the perimeter, sized and installed correctly rather than just caulked over gaps.
- Interior air-sealing at the rough opening, which affects both energy performance and condensation risk.
Every one of those steps has to happen in order, and several of them have to happen before the siding crew shows up. On a new build, that means real coordination with the builder or general contractor's schedule — which is a big part of why timing and communication matter as much as the install itself.
Working With Builders and Homeowners During the Framing Phase
Most of our new-construction window work in and around Birchwood happens as part of a larger build, which means we're one trade among several on a schedule we don't fully control. Framing has to be complete and squared, the WRB installation has to be coordinated so it isn't installed and then disturbed by a later trade, and siding crews need the flashing finished before they start lapping material over it.
For owner-builders or anyone managing their own general contracting, we walk through what needs to happen before we show up (rough openings framed to spec, WRB on and ready) and what needs to wait until after (siding, exterior trim). Getting this sequence right the first time avoids the expensive alternative: opening up finished siding later to fix a flashing detail that was rushed.
Mistakes We See in New-Construction Window Installs
Some of the most common issues we get called to correct — or catch before they happen — on new builds in this area include:
- Sill pans skipped or installed flat instead of sloped, so any incidental water sits against the sill instead of draining out
- WRB lapped in the wrong order at the window, directing water behind the barrier instead of over it
- Fasteners driven through the nailing fin at the wrong spacing or angle, reducing the window's structural attachment and wind rating
- Sealant used as the only water barrier instead of as a backup to proper flashing — caulk fails; flashing shouldn't depend on it
- Window rough openings framed slightly out of square, forcing the installer to compensate with excess shim and sealant instead of a clean fit
None of these are exotic problems. They're the result of rushing a sequence that has to be done in order, on a schedule that's often driven by everyone else's timeline but the window installer's.
Our Process, Start to Finish
For a Birchwood new-construction project, our process typically looks like this: we review the window schedule and rough opening dimensions against the actual framing before ordering, confirm product selection with the homeowner or builder based on exposure and budget, coordinate delivery and install timing with the framing and WRB schedule, install using the sequence above, and do a final walkthrough checking operation, seals, and flashing integration on every unit before we sign off. We also document what was installed and how, which is useful for warranty purposes and for whoever owns the home down the line.
A Quick Checklist Before Your Windows Go In
If you're managing a build yourself or coordinating between trades, these are worth confirming before window installation day:
- Rough openings are framed square, plumb, and to the exact dimensions on the window schedule
- WRB is installed and ready to integrate with window flashing (not already covered by siding)
- Window units on site match the schedule — size, swing direction, glazing package, and grille pattern
- A written flashing and sealant plan exists that both the window installer and siding crew agree on
- Someone is responsible for final walkthrough sign-off on operation and seals before siding closes it in
Why Local Experience in Birchwood Actually Matters
A lot of window installation guidance is generic — it doesn't account for the fact that a home a few blocks from open water takes a different kind of weathering than one further inland, even within the same county. A crew that already works this specific area has a feel for how exposure varies block to block in Whatcom County, which siding and flashing details hold up here versus elsewhere, and how to sequence a job around the wet stretches of the year without compromising the install. That's not a marketing claim — it's the difference between a crew learning this climate on your house and one that already has.
If you're planning new construction in Birchwood and want windows specified and installed correctly from the start, we're happy to walk the plans, talk through product options for your exposure, and give you a straightforward estimate. Use the form below to request a free, no-pressure quote.