 Bellingham Exterior
 Siding Installation Is a Different Job in Blaine Than It Is Twenty Miles Inland
Anyone can nail up siding panels. Installing siding that actually holds up on a Blaine home, sitting this close to Semiahmoo Bay and Drayton Harbor with the border wind coming straight off the water, is a different job entirely. The material matters, but on a coastal property the installation details matter more, because that's where a house either sheds the salt air, driving rain, and moss pressure it takes on all year, or quietly lets it in behind the wall.
This page is about the installation itself — what a correct job looks like on a Blaine home, how our process works from tear-off to final walkthrough, and why we install one siding system rather than several. If you're weighing a siding project for a Blaine property, this is the detail level that separates a job that lasts decades from one that needs attention again in five or six years.
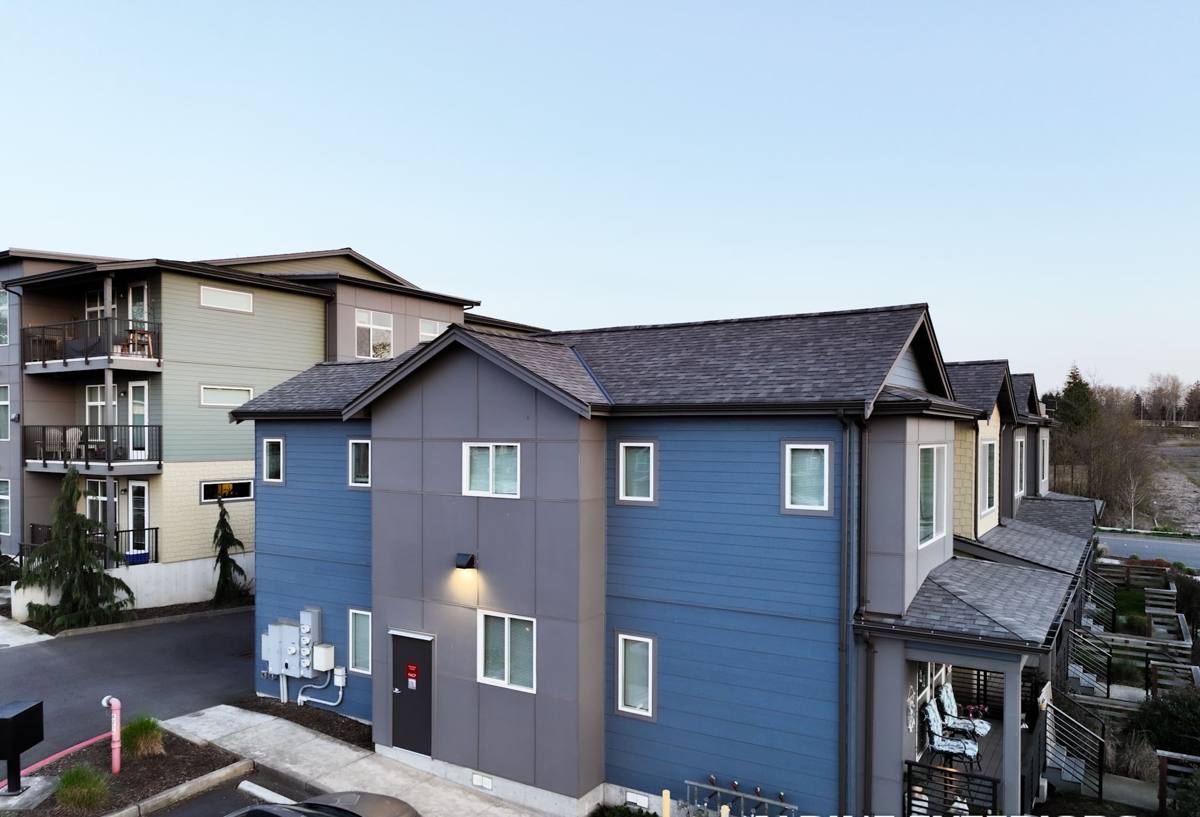
What Blaine's Climate Demands From an Installation, Specifically
Salt Air Changes What "Good Enough" Means
Salt-laden air off the bay and harbor accelerates corrosion on fasteners, flashing, and trim hardware faster than it would on a home set further inland. That means fastener type and spacing on a Blaine installation aren't places to use whatever's on the truck — corrosion-resistant fasteners installed at the manufacturer's specified spacing are the difference between hardware that lasts and hardware that starts staining and loosening within a few winters.
Driving Rain Tests Every Seam and Joint
Storms coming off the water push rain sideways into wall assemblies rather than letting it fall straight down, which means every seam, butt joint, and flashing detail on a Blaine installation gets tested by wind-driven moisture more often than the same detail would inland. An installation that looks identical to one done in a calmer climate can perform very differently once a real Blaine windstorm hits it broadside.
A Long Moss Season Punishes Anything That Stays Wet
Mild temperatures and near-constant moisture give moss a growing season that runs most of the year on shaded, north-facing walls around Blaine. Installation choices that let a wall dry out between rain events — proper clearance above grade, a functioning drainage plane behind the siding — matter more here than in a drier part of the county, because anything that traps moisture becomes a growth surface fast.
What a Correct Installation Actually Involves
Substrate Check Before Anything New Goes Up
Old siding comes off before we make any judgment about what's underneath. Sheathing that's already taken on moisture damage needs to be addressed at this stage — covering it with new siding just hides a problem that keeps getting worse behind the wall, and it's a shortcut we won't take regardless of how it affects the schedule.
A Functioning Rain Screen Gap
A small drainage cavity behind the siding lets any moisture that gets past the outer surface drain and evaporate instead of sitting against the sheathing. On a home this exposed to wind-driven rain, that gap is doing real work, not just meeting a technical spec.
Fastener Type and Spacing to Manufacturer Standard
James Hardie specifies fastener type, length, and spacing for a reason, and loose spacing or the wrong fastener is one of the more common causes of early failure we find on tear-offs. In a salt-air environment, corrosion-resistant fasteners installed correctly aren't optional upgrades — they're the baseline.
Flashing and House Wrap Lapped Correctly
Every seam, window opening, and roof-to-wall transition needs to shed water downward and outward, with each layer lapping over the one below it. This is the step that's easiest to rush and hardest to inspect once the siding is up, which is exactly why it gets deliberate attention rather than a quick pass.
Sealed Joints and Trim Transitions
Open or poorly sealed butt joints and trim transitions are where salt-laden moisture finds its way behind the siding first. Getting these right the first time avoids callbacks that are far more disruptive than the extra care takes during installation.
Our Installation Process, Step by Step
- Inspection and estimate: We look at current siding condition, signs of trapped moisture, and how exposure varies across the home's walls before putting a number on the job.
- Tear-off: Old siding comes off and the sheathing underneath gets checked for rot or soft spots before we move forward.
- Substrate repair: Any damaged sheathing gets addressed and documented, not covered over.
- Weather barrier and flashing: House wrap, flashing, and rain screen components go in first, with careful attention to every seam and penetration.
- Installation to spec: Siding goes up following James Hardie's published installation requirements — fastener spacing, clearances, and field-cutting and sealing practices.
- Final walkthrough: We walk the completed job with the homeowner and confirm it matches what was estimated before calling it finished.
Why We Install Only James Hardie Fiber Cement
An installation is only as good as the material going into it, and we standardized on one siding system after seeing which products actually held up on tear-offs and service calls in coastal, high-moisture towns like Blaine.
- Non-combustible core: Fiber cement doesn't feed a fire the way wood-based siding products can.
- Factory-applied ColorPlus finish: Baked on under controlled conditions rather than brushed on in the field, so it holds up longer against fading and moisture exposure.
- Climate-engineered HZ product lines: Hardie's HZ5 formulation is built for regions with sustained moisture and freeze-thaw cycling, which fits coastal Whatcom County.
- Dimensional stability: Fiber cement doesn't swell, cup, or warp the way engineered wood can after repeated wetting.
- A strong transferable warranty: Backed by Hardie provided the installation follows their spec — which is exactly why the installation details above matter so much.
We don't install LP SmartSide, vinyl siding, Cemplank, Allura, primed spruce, or cedar. Each has a place in the market, but on a coastal property like this, we'd rather install one system to a consistent standard than offer a cheaper alternative that shifts maintenance risk onto the homeowner down the road.
Installation Cost Factors for a Blaine Home
| Factor | Why It Affects Installation Cost |
|---|---|
| Tear-off vs. new construction | Removing and disposing of old siding, plus any substrate repair, adds labor beyond a bare-wall install |
| Sheathing condition | Moisture-damaged sheathing found during tear-off needs repair before new siding goes up |
| Home size and story count | More square footage and higher walls mean more material, more staging, and more labor hours |
| Trim and detail complexity | Windows, corners, and roofline transitions each require careful flashing and cutting |
| Water exposure of the specific lot | Walls facing open water may warrant extra flashing attention and fastener corrosion resistance |
These are general drivers, not a quote. Every Blaine property sits at a slightly different distance from the water and under different tree cover, so we walk the home before putting a real number on the project.
Signs an Existing Installation Was Done Wrong
- Soft or spongy siding low on the wall or around window trim
- Moss or staining that returns quickly after cleaning, especially on shaded walls
- Rust streaking from fasteners or trim hardware
- Visible gaps or open joints at corners and trim transitions
- Siding that's cupped, buckled, or separated from the wall
- Musty smells or staining on interior walls that back up to exterior siding
Any one of these is worth a professional look, since installation problems tend to get more expensive to fix the longer they sit behind finished siding.
Timing an Installation Around Blaine's Weather
Whatcom County's wettest, windiest stretch typically runs from late fall through winter, and Blaine's exposed coastal position makes that stretch harder on an installation crew than it is further inland. Spring and summer generally offer the driest, most stable conditions for siding installation, since fiber cement, house wrap, and sealants all perform better going in and setting up under dry conditions rather than between storm systems. That said, a home with active moisture intrusion is worth addressing on its own schedule rather than waiting out the season.
Why a Crew That Already Installs in Blaine Matters
An installation crew that works this stretch of coastline regularly has already seen how salt air, wind-driven rain, and moss actually behave on real Blaine walls over a full year — not just how a product performs on a spec sheet. That experience shows up in small decisions on install day: which walls need extra flashing attention, where fastener corrosion resistance is worth the added cost, and which details are worth the extra time so a homeowner isn't dealing with a callback after the next storm off the water. A crew installing here for the first time is learning those lessons on your house instead of the last one.
If your Blaine home needs new siding, we're glad to walk the property and give you a straightforward, no-pressure estimate. Reach out using the form below to schedule a free estimate.