 Bellingham Exterior
 Building New in Barkley? Get the Windows Right the First Time
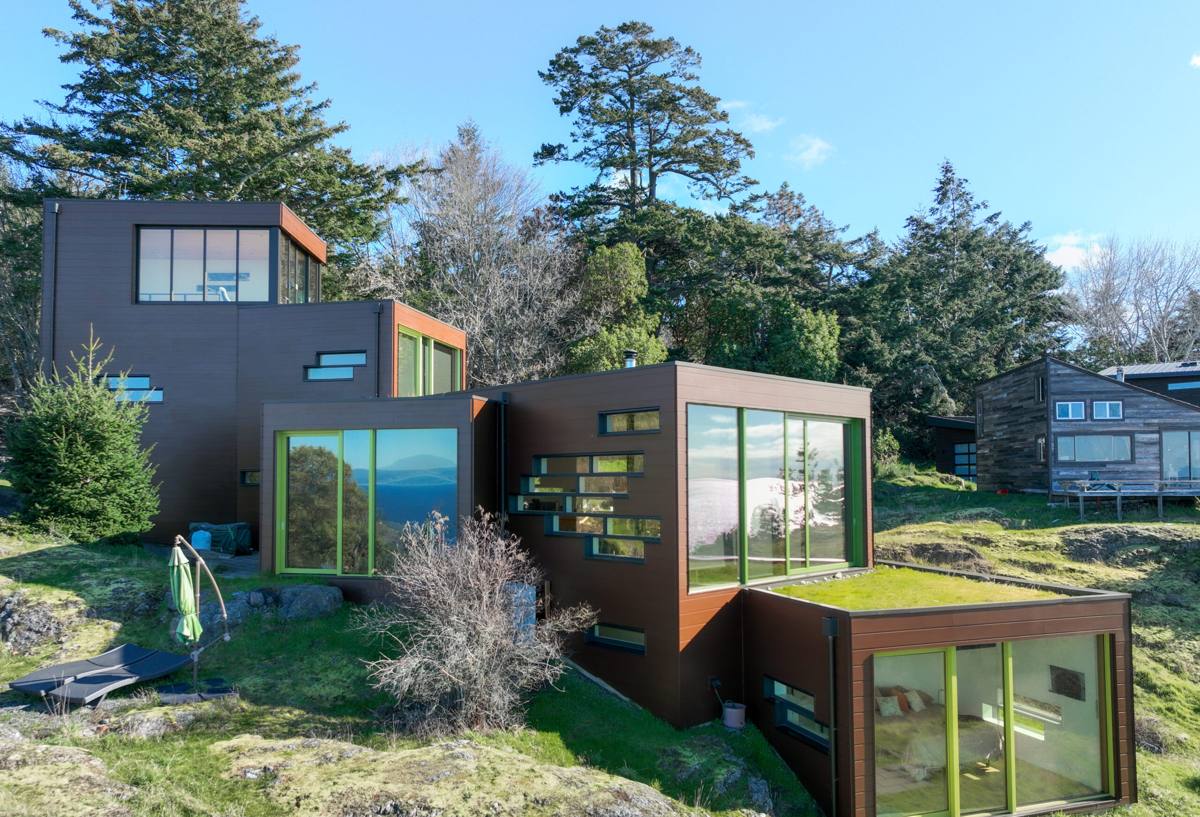
Barkley's mix of newer townhomes, custom builds, and infill construction near the golf course and Northwest Avenue corridor gives homeowners and builders a rare chance that remodel projects don't offer: the ability to spec windows correctly before the wall is even closed up. New-construction window installation is fundamentally different from a retrofit or replacement job. There's no old frame to work around, no compromise dictated by an existing rough opening, and no guesswork about what's hidden behind the siding. Done right, it's also your best and cheapest opportunity to build a window system that will hold up to decades of Bellingham weather without a single callback for a leak.
We install new-construction windows in Barkley on a regular basis, working alongside general contractors, builders, and homeowners managing their own project. This page covers what that work actually involves, what Whatcom County's climate demands from the installation, and why it matters that the crew doing it already understands how Barkley homes are built.
Why Barkley's Climate Is Harder on Windows Than It Looks
Bellingham sits close enough to Bellingham Bay and the Salish Sea that salt-laden air reaches inland neighborhoods like Barkley more than most people realize, especially on windy days off the water. Combine that with Whatcom County's long wet season — driving rain that comes in sideways during winter storms — and a moss season that can stretch from October through May on shaded north and east-facing walls, and you have three separate stresses working on a window system at once:
- Salt air accelerates corrosion on cheaper hardware, fasteners, and unprotected metal flashing over time.
- Driving rain tests the flashing and sealant details at the window's edges far more than a light, straight-down rain ever would — wind-driven water finds gaps that gravity alone wouldn't exploit.
- Moss and constant damp on shaded exteriors keeps siding and trim wet longer after a storm, which means any window opening that isn't properly flashed and drained stays wet longer too, feeding rot in the surrounding framing.
None of this is unique to Barkley, but it's a real factor in how we detail every new-construction window opening here, not an afterthought.
What a Correct New-Construction Window Installation Actually Involves
"New-construction" refers to a specific style of window with a nailing flange built into the frame, designed to be installed before the siding or stucco goes on — as opposed to a "replacement" or "pocket" window, which fits inside an existing frame. Because the opening is open and accessible, this is where a proper weather-resistive barrier (WRB) and flashing system gets built in layers, not patched in after the fact.
The Sequence That Matters
- Rough opening check. Confirm the opening is square, plumb, and sized correctly before the window ever shows up on site. Small framing errors are cheap to fix now and expensive to fix later.
- Sill pan flashing. A sloped, sealed pan at the bottom of the opening so any water that gets past the window has somewhere to go — outward, not into the wall cavity. This is the single most-skipped step on lower-quality installs, and it's the one that matters most in a wet climate like ours.
- Weather-resistive barrier integration. The house wrap or building paper has to be cut, lapped, and taped in the correct shingle-style order around the opening so water always drains down and out, never into a seam.
- Setting the window level, plumb, and square in the opening, with proper shimming so the frame isn't racked or under stress — a racked frame will bind, leak air, and wear out its hardware early.
- Flange fastening per the manufacturer's schedule — the right fastener type and spacing, not "close enough."
- Flashing tape over the flange at the head, jambs, and sill, again in the correct sequence, so the head flashing laps over the jamb flashing and sheds water down and out.
- Interior air sealing with low-expansion foam or backer rod and sealant around the frame — this controls drafts and condensation risk, and it's separate from the exterior weatherproofing.
- Exterior trim and sealant once siding is in, with attention to keeping weep paths open so incidental moisture can still drain.
Skip or shortcut any one of these steps and the window may look and operate fine for a year or two before a leak shows up — usually inside a wall cavity, where it does the most damage before anyone notices.
Choosing the Right Window for a Barkley Build
Frame material, glazing, and hardware all affect how a window holds up to salt air and constant moisture. We walk builds through the trade-offs rather than pushing one product for every job.
| Frame Material | How It Handles Our Climate | Maintenance Reality |
|---|---|---|
| Vinyl | Good moisture resistance, no corrosion risk from salt air; performance varies a lot by manufacturer grade | Low — occasional cleaning, no repainting |
| Fiberglass | Very stable in temperature swings and wet-dry cycling; holds up well long-term near the coast | Low to moderate — durable finish, higher upfront cost |
| Wood (clad or unclad) | Excellent look, but bare wood exposed to driving rain and moss-prone shade needs real upkeep | Higher — regular inspection and refinishing on exposed faces |
| Aluminum | Strong and slim sightlines, but uncoated or poorly finished aluminum is more exposed to salt-air corrosion over time | Depends heavily on finish quality and thermal break design |
For glazing, we default to discussing double- or triple-pane options with appropriate low-E coatings for our climate zone, and we talk through argon fill and warm-edge spacer options honestly — including where the extra cost does and doesn't pay off depending on the wall's orientation and exposure.
Hardware and Finish Details That Matter Near the Coast
Salt air is hard on anything that isn't corrosion-rated, and it's a detail that's easy to overlook when a build is focused on bigger-ticket decisions. We pay attention to:
- Fastener and flange hardware rated for coastal or high-moisture exposure, not bare mild steel.
- Weep hole design that stays clear of paint, caulk, or trim overhang so water can actually drain.
- Screen and track materials that won't pit or seize after a few wet seasons.
- Sealant products rated for the temperature and UV range we actually get here, applied at the manufacturer's specified cure conditions — not rushed on a wet or cold day.
Why Local Experience on Barkley Builds Actually Matters
A lot of window installation problems trace back to a crew that's used to a different climate or a different housing style applying the same details everywhere. Barkley's building stock includes newer plan-built homes, custom infill, and townhome clusters, each with slightly different wall assemblies, siding types, and exposure patterns depending on which direction a lot faces relative to the water and prevailing wind. A crew that already works this neighborhood recognizes:
- Which elevations catch the worst of the driving rain on a given lot orientation.
- Where shaded, moss-prone walls need extra attention to drainage and drying time between installation steps.
- How local builders typically sequence WRB and siding trades, so window flashing integrates cleanly instead of getting installed out of order.
- What inspectors in this jurisdiction actually check for at rough-in and final.
That familiarity shows up as fewer surprises, fewer callbacks, and a tighter schedule — which matters on any new-construction timeline where trades are stacked back-to-back.
Our Process for a Barkley New-Construction Window Job
We approach it as a coordinated part of the build schedule, not a standalone task:
- Plan review and takeoff. We review the window schedule, elevations, and rough opening sizes before ordering anything, flagging any mismatches early.
- Product selection walkthrough. We go over frame material, glazing package, and hardware options against the home's orientation and budget — plainly, with trade-offs, not a sales pitch.
- Scheduling with the build. We coordinate timing with the framing and WRB trades so flashing sequence isn't compromised by a rushed handoff.
- Installation. Full sill-pan-to-trim sequence as described above, on every opening, every time — not just the ones a customer happens to be standing near.
- Walkthrough and documentation. We go over what was installed and how, and flag anything the builder or homeowner should know for future maintenance.
A Quick Checklist Before You Sign Off on Any New-Construction Window Job
- Is there a sloped sill pan at every opening, not just a bead of caulk?
- Is the flashing tape lapped in the correct shingle order — head over jamb over sill?
- Are fasteners and hardware rated for coastal/high-moisture exposure?
- Is the glazing package appropriate for the wall's sun and wind exposure?
- Are weep holes clear and unobstructed by trim or paint?
- Has the installer accounted for this specific lot's rain and shade exposure, not a generic default?
What Homeowners and Builders Get Wrong Most Often
The most common mistake we see isn't a bad window — it's a good window installed without proper sill flashing, because it "looks fine" once the trim goes on and nobody checks what's underneath. The second most common mistake is choosing a frame material based on price or appearance alone, without weighing how it will hold up specifically on a shaded, moss-prone, or salt-air-exposed wall. Both mistakes are invisible for a while. They show up as a soft spot in the drywall, a musty smell, or a stuck sash two or three winters later — long after the crew that installed them has moved on to the next job.
Let's Talk About Your Barkley Build
Whether you're a builder specifying windows for a new Barkley project or a homeowner managing your own build, we're happy to walk the plans, talk through material and glazing choices for your lot's specific exposure, and give you a clear, honest estimate — no pressure, no upsell. Fill out the form below to get started.